
As much as Pipe & Cable Locators are the backbone of the utility marking and mapping industry, they are far from being the only instrument available, especially now days.
Included here are several other instruments which can be useful in locating subsurface utilities, though some of them (EM 61 and Gradiometer) have only been rarely used for that purpose.
CLAMPMITTER
A Clampmitter is an instrument for producing clamp induction by use of a combination of transmitter and clamp combined. These are manufactured by Rycom who also produce PCLs (Pipe and Cable Locators).

These allow you to clamp to various utility lines without hauling a regular PCL transmitter up and down the street. They operate on rechargeable batteries and have 3 available frequencies on each unit: 33 kHz, 65 kHz, and the third frequency can be ordered as 82 kHz, 83 kHz, or 131 kHz.
These can be very handy in various situations as well as removing the hauling of a transmitter throughout the day. They can also be used in manholes. The Clampmitter can be ordered in 2 different sizes: the standard 4.2-inch clamp and a larger 6.5-inch clamp.
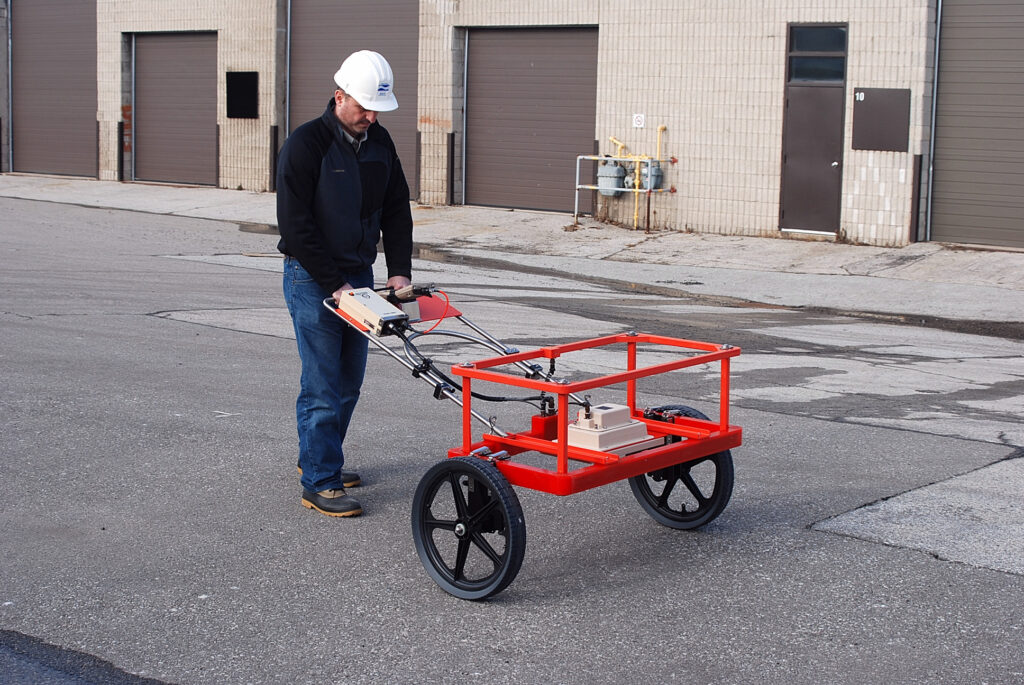
EM-61
The EM 61 is technically a Time Gate Metal Detector. These are an extremely expensive unit to purchase and are therefore mainly rented by various users.
Unlike most metal detectors an EM 61 can detect metal at much greater depths. They are mainly used to detect deep metal objects of various types such as buried military ordinance and USTs. They have been used on occasion in conjunction with utility surveys.
GRADIOMETER
A Gradiometer, like the EM 61, is a very expensive unit and usually rented, not purchased. They are also often used for locating buried military ordinance. The basic layout of a gradiometer is using multiple specialized magnetometers, either side by side or in a vertical layout (one above the other). They can also be used with 4 individual magnetometers spaced apart from each other.
The layout of a Gradiometer is related to its specific purpose, and there are several. Some are meant for geological purposes only; however, just like the EM61, they have also been used in conjunction with utility surveys on occasion. In this case, it is usually the vertical Gradiometer that is used to determine the depth of ferrous metal objects such as subsurface gas tanks or other USTs.
METAL DETECTOR
Metal detectors have long been used for finding buried water valve lids, manhole lids, and other buried utility features. They certainly do work for this task but with limitations.
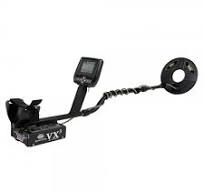
Metal detectors are a transponder which both sends and receives electromagnetic energy into the ground. They transmit current into the ground, which can then react with any type of metal, and the reaction is detected in the hoop portion of the instrument. Most people use them to look for metal objects made of silver or gold. However, they will react with any type of metal, and this includes not only iron items, but silver, gold, and even aluminum. This is one of their biggest weaknesses. They detect flattened beer and pop cans more than any other type of metal because there is a great deal of trash underground.
Another weakness is that they have a very limited depth penetration, less than one foot. Most water valves that have become buried are usually less than one foot down, but some may be more than that.
Another weakness is that they have a very limited depth penetration, less than one foot. Most water valves that have become buried are usually less than one foot down, but some may be more than that.
Another weakness is that, being a transponder-type device, they do not detect an outer reaction of iron as magnetometers do, but instead react with the center of the metal. A manhole lid may have a slightly larger reaction than a water valve lid, but this will still be a centered reaction and therefore give only a vague indication of the size of the buried target.
All in all, a metal detector can be very useful in locating buried iron utility targets, but a magnetometer is superior in this task if you have one.